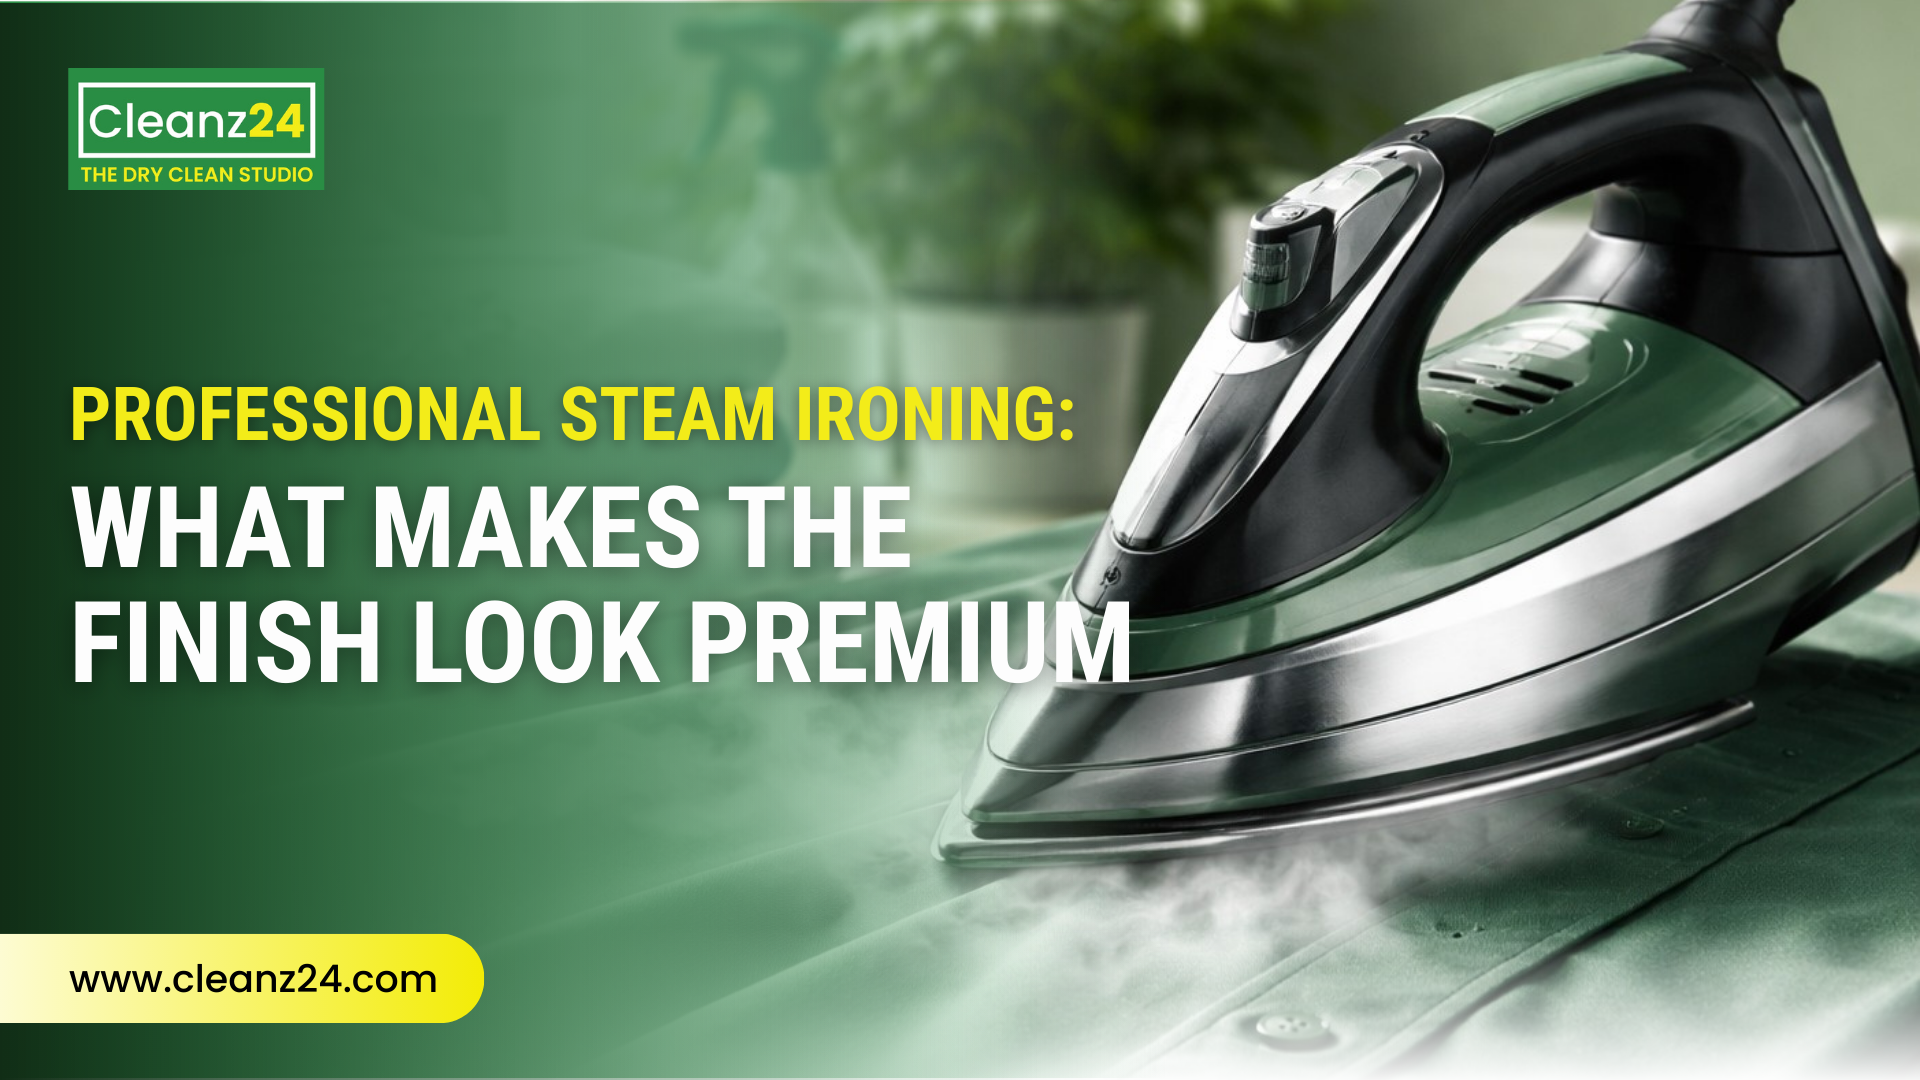
Wrinkle-free, neatly pressed clothes instantly elevate your appearance and confidence. Ironing, however, can often feel tedious or intimidating. With the right techniques and expert tips, mastering the art of ironing becomes simple. Here’s your comprehensive guide to achieve professional results right at home.
Why Proper Ironing Matters
Well-ironed clothing looks more professional, enhances your personal style, and prolongs the life of your garments. Proper ironing maintains fabric integrity and helps clothes retain their shape and crispness.
Essential Ironing Tools
To master ironing, ensure you have these essentials:
- Quality Steam Iron: Provides consistent heat and steam for smooth ironing.
- Sturdy Ironing Board: Adjustable height, stable surface, and adequate padding.
- Spray Bottle: Moistens fabrics, easing the removal of stubborn wrinkles.
- Ironing Cloth (Pressing Cloth): Protects delicate fabrics from heat damage.
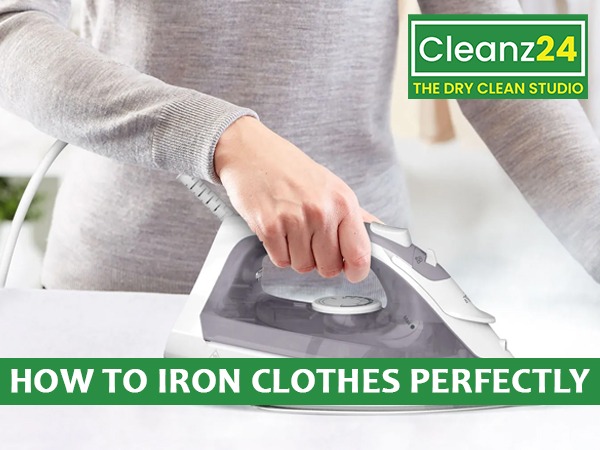
Step-by-Step Guide to Perfect Ironing
Step 1: Check the Garment Label
Always read care instructions. Fabrics like cotton and linen require higher temperatures, while silk, polyester, and wool need lower heat settings.
Step 2: Sort Garments by Temperature
Group clothes according to their required ironing temperatures, starting with cooler settings to prevent fabric damage.
Step 3: Prepare the Iron and Board
- Ensure your ironing board cover is clean and smooth.
- Fill your iron with distilled water to prevent mineral buildup.
Step 4: Ironing Technique by Fabric Type
- Cotton and Linen:
Use high heat and steam. Press firmly and slowly, slightly moistening stubborn wrinkles. - Silk and Satin:
Iron on low heat without steam. Always use a pressing cloth to avoid shine and heat damage. - Synthetic Fabrics (Polyester, Nylon):
Use moderate or low heat settings with gentle pressure to prevent melting or fabric distortion. - Wool:
Medium heat, gentle pressing, and steam through a pressing cloth for best results.
Step 5: Ironing Order for Clothing Items
- Shirts: Start with collars and cuffs, then sleeves, shoulders, and finally the body.
- Pants: Press waistband first, then pockets, seams, and legs.
- Dresses and Skirts: Iron from top to bottom, smoothing pleats or gathers carefully.
Step 6: Hang or Fold Immediately
After ironing, hang garments promptly or neatly fold them to maintain their crisp, wrinkle-free appearance.
Expert Tips for Flawless Ironing Results
- Use Steam Wisely: Steam helps tackle tough wrinkles quickly but should be used sparingly on delicate fabrics.
- Iron Clothes Slightly Damp: Slight dampness helps remove wrinkles more efficiently.
- Maintain Your Iron: Regularly clean your iron to avoid mineral build-up and stains.
- Iron Inside Out: Protect garment colors and fabrics by ironing inside out, especially for dark or delicate clothing.
Common Ironing Mistakes to Avoid
- Incorrect Temperature Settings: Always match iron temperature to fabric care instructions.
- Skipping the Pressing Cloth: Essential for preventing fabric damage, shine marks, or scorching.
- Overlooking Iron Maintenance: Regularly clean your iron and empty water after each use to prolong its lifespan.
Conclusion: Enjoy Perfectly Pressed Clothes with Confidence
Mastering ironing doesn’t have to be difficult. By following expert techniques, maintaining your iron properly, and ironing methodically, you’ll achieve professional-quality results every time. Enjoy crisp, polished clothes, and step out feeling confident and well-dressed.